

This week for the Skill Builder Sampler we are going to make a Drunkard's Path Block. I love these quarter circle units - there are so many ways to arrange them and make different designs. Today I am going to show you how to make your own Drunkard's Path templates and you can choose to make a block out of 6 inch, 4 inch or 3 inch Drunkards Path units. (scroll down for instructions)

............

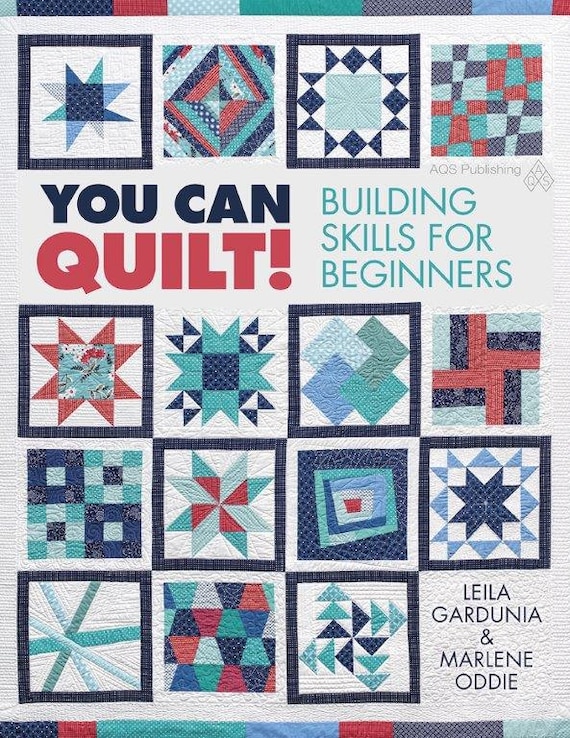
Edited (4/15): The Skill Builder Sampler will soon be available for purchase in book form! It has been renamed "You Can Quilt! Building Skills for Beginners" but covers the same skills with the easy, medium and challenging blocks and is a million times better than the original quilt along. It is perfect for the beginning quilter or the experienced quilter who wants to branch out and learn new skills. Find more information and pre-order a signed copy in my Etsy shop or pre-order on Amazon . The Skill Builder Sampler tutorials will remain up until the book is released. After release, some will be removed.
............
Making the Template:

This is what we want to end up with: a template for the inner circle and a template for the outer section. The inner circle looks much larger than the outer section, but....

...if you slip it under the outer template so that the sides line up, you will see that they overlap by 1/2 an inch. That gives each piece a 1/4 inch seam allowance - perfect! It looks odd, but it works.


Cut the original template along the line that is a quarter inch below the seam line - this is the outer section template. The circle we are cutting out has a radius of .25 less than the seam line.
To recap:
- Decide what finished size unit you want and add .5 inches
- Cut out a square of card stock that size
- Decide where you want the seam line. Measure the distance from the corner of the unit to the seam line, let's call this measurement X (feel like you are back in school?).
- On a separate piece of card stock mark X + .25 on two sides of the paper. Join these line with the compass. This is the inner circle template. Cut it out.
- On the original piece of card stock, make marks .25 inches below the seam line. Join these marks with the compass. Cut along this lower line to make the outer section template.
Cutting:


Square up a corner of fabric, place the outer template on it and trace. Repeat and cut 4 outer sections.


Trace the inner template and cut out four pieces.
Sewing:

Pin one corner of the inner circle to the corner of the outer section as shown.

Pin the other end to the other corner and shape into a C shape.

Pin the center of the curve. You could mark the center, but that is a lot of work. ;) Not really, I just hate marking. To find the center without marking, line up the corner of the outer section and the corner of the inner circle as shown.

Look at the top side. The inner circle will peek out past the outer section. That is the center of the curve.

You want the lowest part of the outer section to line up with the highest part of the inner circle.
Wiggle the inner circle down by rubbing your fingers together until they are even.
Wiggle the inner circle down by rubbing your fingers together until they are even.

Pin.

Work your way around the circle pinning very regularly.

Outer section on top, sew along the edge with a scant 1/4 inch seam.
Slow and steady and watch for puckers. Repeat for all 4 sections.


Play around with the arrangement. So many options.

But I chose this one. Sew the units in the top row and bottom row together.
Press seams to opposite sides.

Sew both rows together and press. You did it!
But...
Then you start thinking of all the cool arrangements you can make with more units and you decide to make a block with 3 inch finished units instead of 6 inch finished units.

Make the template (3.5 inches square) and cut out 16 inner and outer sections.

Sew as shown before - the curves are tighter and more challenging.
I found my seams got too scant and I needed to trim the edges of the units to square them up to 3.5 inches.
Play, play and play some more with the arrangement.


There you go!

Two options for your Drunkard's Path block.

thank you. what a great post, and our quilt guild just had a demo for this block - but now I can create my own template! love it.
ReplyDeleteThis is a great tutorial!! I have done this block once. It was hard. I wish I had had this tutorial then! :) Can't wait to get started! Thanks!!
ReplyDeleteI am super excited! I just stumbled across your page as I am particating in a SWAP. We are to make and SWAP any two squares/month in fall colors. I love samplers, after much searching i found yours. I have no idea what I will get in the mail, but I am making 3 matching blocks, 1 for me and 2 to giveaway. Your tutorials are perfect as I need/want to learn more skills AND love sampler quilts. I have completed the log cabin just tonight, always wanted to learn that. Now, onto block #2, I will be caught up in no time. Thanks a million!!
ReplyDeleteI've been wanting to try it for ages, now I have a perfect excuse to do it, thank you :)
ReplyDeleteI just have to wait for Friday and some more time for sewing.
This is great--so often Drunkard's Path blocks seem like such a stumbling block to many quilters, but with your directions, they should be flying through them. I like how you showed to play around with them. Isn't that half the fun of those blocks?
ReplyDeleteElizabeth E!
occasionalpiece.wordpress.com
If you saw what a mess I made of the previous block, you will understand why I'm giving this one a miss! I have done a Drunkards Path block once before, which turned out okay but I have no desire to do another one.
ReplyDeleteThis one was a challenge. I hope the curves class helps me to work out some issues! Mine looks like I was drunk!
ReplyDeleteI had so much fun with this one! I made it in a sort of scale pattern and it looks pretty sweet!
ReplyDeleteThanks!
ReplyDeleteThank you! This is a great tutorial♥
ReplyDeletemuchisimas gracias, de verdad. he hecho miles de pruebas, montón de horas perdidas y tus instrucciones han sido geniales!!! Visca!!!
ReplyDeleteThanks Leila! I'm doing a friendship quilt with Vanessa and needed a 4 1/2" inch drunkards path block. I googled it to find a pattern, and your site was the first one that came up. Your instructions are easy to follow. Great tutorial!
ReplyDeletedo you allow this to be used publicly? I would like to use this for a group project. any copyright issues? Thanx Sue
ReplyDeletethank you..I've been looking for info on how to draft..I'm like Sue C..may I share this?
ReplyDeleteGreat tutorial. Thanks.
ReplyDeleteI FOLLOWED YOUR GREAT TUTE....AND MADE THE 4 UNITS PERFECTLY. (I PREFERED TO MARK THE CENTER BEFORE I PINNED) THE FIRST ONE WAS PERPLEXING TO ARRANGE...BUT AFTER THAT THE SECOND UNIT WAS A BREEZE. I HAD NEVER DONE ANY CURVED PIECING BEFORE. THANKS BUNCHES.
ReplyDeleteThank you for the tutorial!
ReplyDeleteI was SO GLAD to find this tutorial! Your illustrations and explanations are so clear I know exactly what to do to create the 10 inch squares I want. Thank you!!!!!
ReplyDeleteThanks!! I was able to make 15" squares with this and the help of a paper and string :)
ReplyDelete